3D puff digitizing means preparing an embroidery file so it can be sewn over a layer of foam, which gives the design a raised, bold look. It is popular on hats and caps, and also used on hoodies and jackets. A clean result depends far more on the digitizing than on the foam.
The short version: puff needs its own file. Use satin stitches only, higher density than flat satin, end caps on the columns and bold, simple shapes. Fine detail and small text are better sewn flat.
What is 3D puff embroidery?
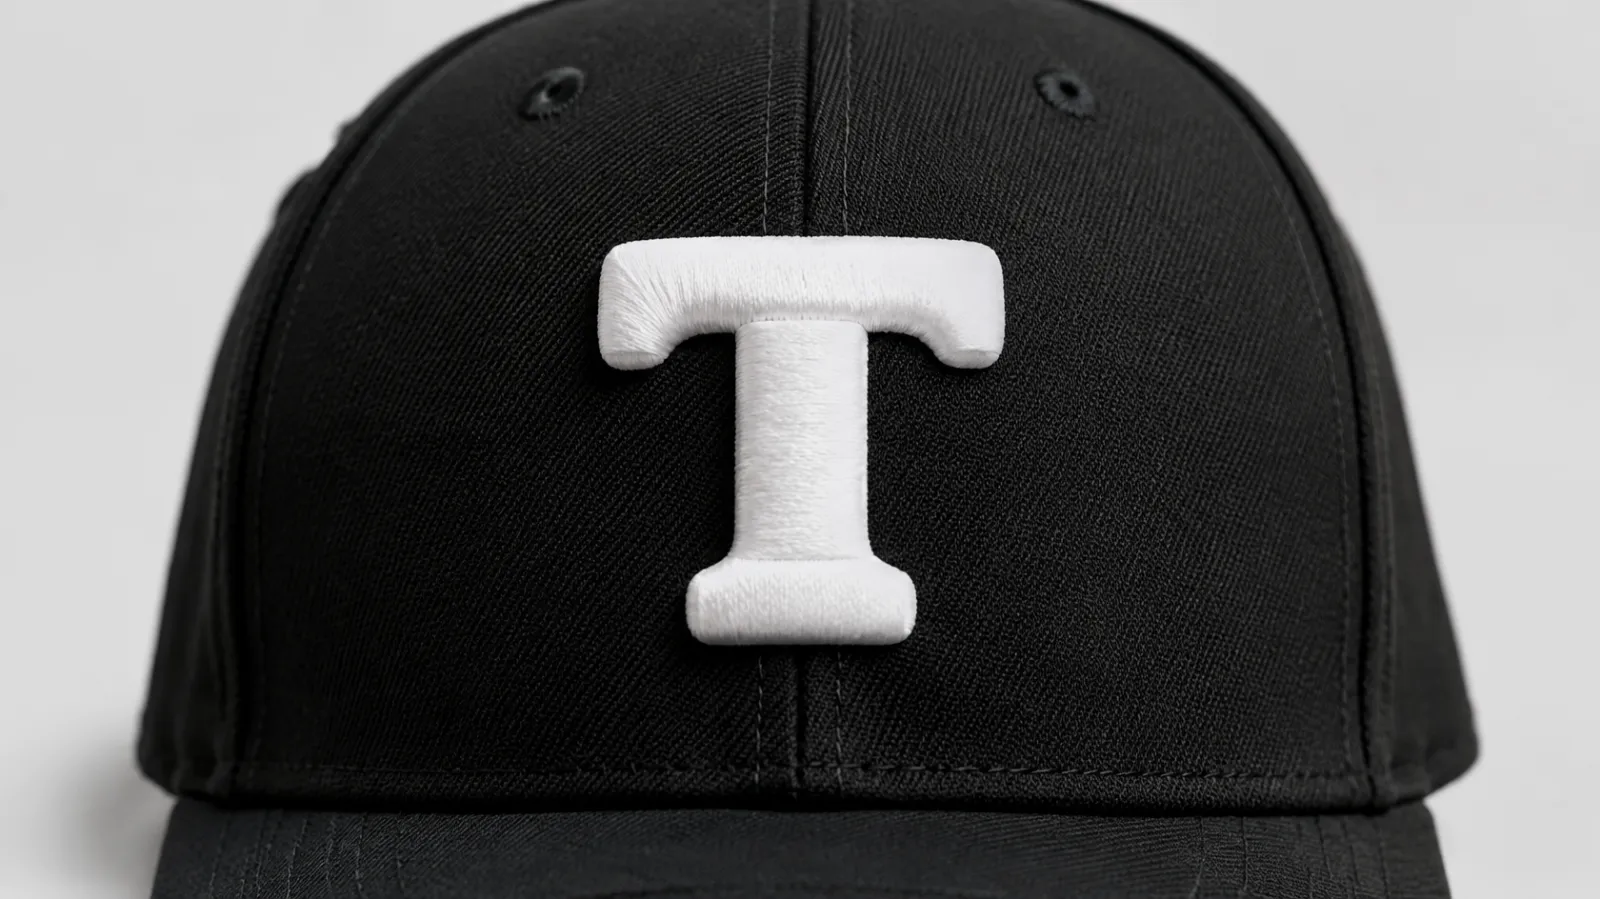
A sheet of embroidery foam is placed on the garment, and satin stitches are sewn over it. The needle perforates the foam along the edges of each shape, the extra foam is torn away, and the stitched areas keep the foam underneath, so the design stands up from the fabric.
Puff vs. regular (flat) embroidery
A regular embroidery file cannot simply be sewn over foam. Flat designs use fills and thin details that crush the foam or fail to cover it, so foam ends up peeking through. A puff design is digitized specifically for puff, usually as its own file, and is often combined with flat elements that sew before or after the puff parts.
Foam thickness
Puff foam commonly comes in about 2 mm to 3 mm, and 3 mm is widely treated as the standard. Thinner foam gives little lift, while very thick foam can deflect needles. Stacking layers is usually avoided because the second layer can shift while sewing.
How is a puff design digitized, step by step?
- Start from clean artwork and decide which shapes will be puff. Bold letters and solid shapes work best.
- Build each raised shape from satin columns instead of fills.
- Check the column width: too narrow and the stitches cannot cover the foam, too wide and they can sag.
- Raise the density compared with a flat satin, so the needle line cuts the foam cleanly and the thread covers it.
- Close the open ends of the columns with small end caps, so the foam is cut and hidden at the ends too.
- Put the flat details (thin lines, small text, outlines) in separate elements that sew before or after the puff.
- Test sew on the real garment and adjust before the full run.
What rules does a puff file follow?
- Satin stitches, not fills: fills flatten the foam, so raised areas are built from satin columns.
- Column width limits: satin columns are kept within a practical range (often cited as roughly 3 mm minimum to about 12 mm maximum) so stitches cover the foam without becoming loose.
- Higher density: puff satins are sewn denser than flat satins so they cut cleanly through the foam edges and cover it fully.
- End caps: the open ends of columns are closed with small capping stitches so the foam is cut and hidden at the ends, not just the sides.
- Simple shapes: bold letters and clean shapes work best; fine detail and small text are better sewn flat.
Exact values differ between machines, software and foam brands, so a test sew-out on the real garment is the best final check.
What machine settings matter for puff?
Settings depend on the machine and the foam, so treat these as general guidance and not fixed numbers. Many operators sew puff at a slower speed than flat designs, because the needle is cutting through foam. A sharp needle that is not too small is often preferred, and the foam should be held flat and tight under the stitching. Foam in a color close to the thread color also helps hide any small bits that remain after tearing.
Which designs work well as puff?
- Bold block or script lettering with thick strokes.
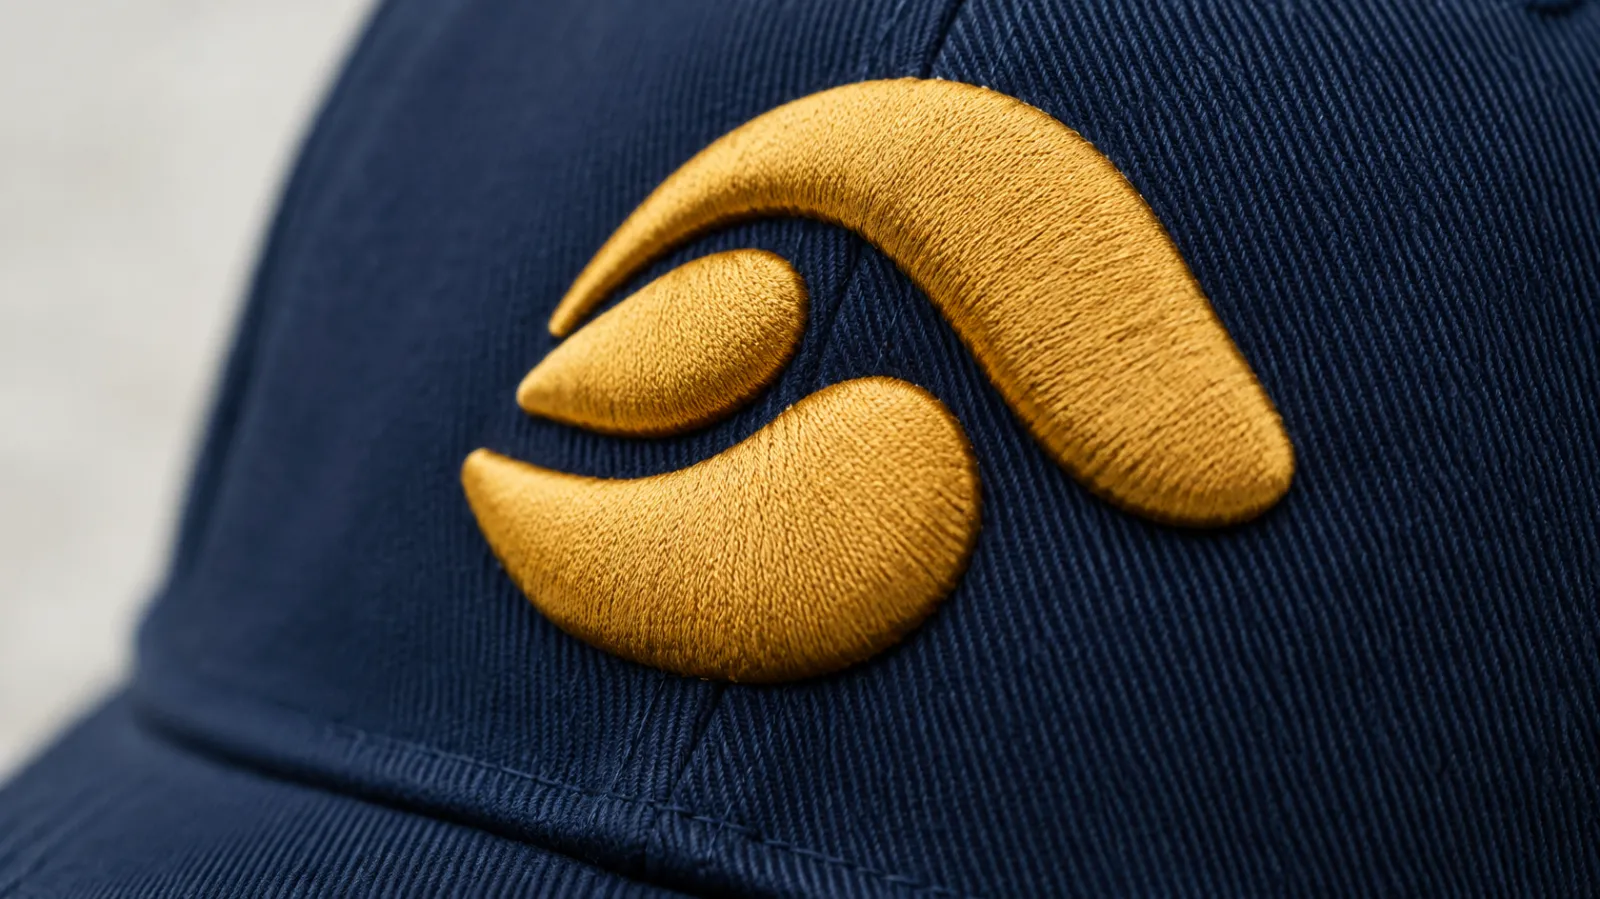
- Simple logo shapes, such as a letter, a shield or a basic icon.
- Large solid areas that can be built from satin columns.
Thin lines, tiny text and detailed shading usually do not work as puff. A common solution is to keep the main shape in puff and sew the fine detail flat next to it.
Common puff embroidery mistakes
- Sewing a regular flat file over foam.
- Using fill stitches for the raised areas.
- Satin columns that are too narrow or too wide for the foam.
- Leaving the ends of columns open, so foam shows or does not cut cleanly.
- Putting small text or fine detail in puff instead of sewing it flat.
- Stacking foam layers, which can shift while sewing.
3D puff on hats
Hats are the most common place for puff. All the cap rules still apply: sew from the center out, stabilize the front panel well and keep the center seam in mind. Bold lettering across the front panel is a classic puff job.
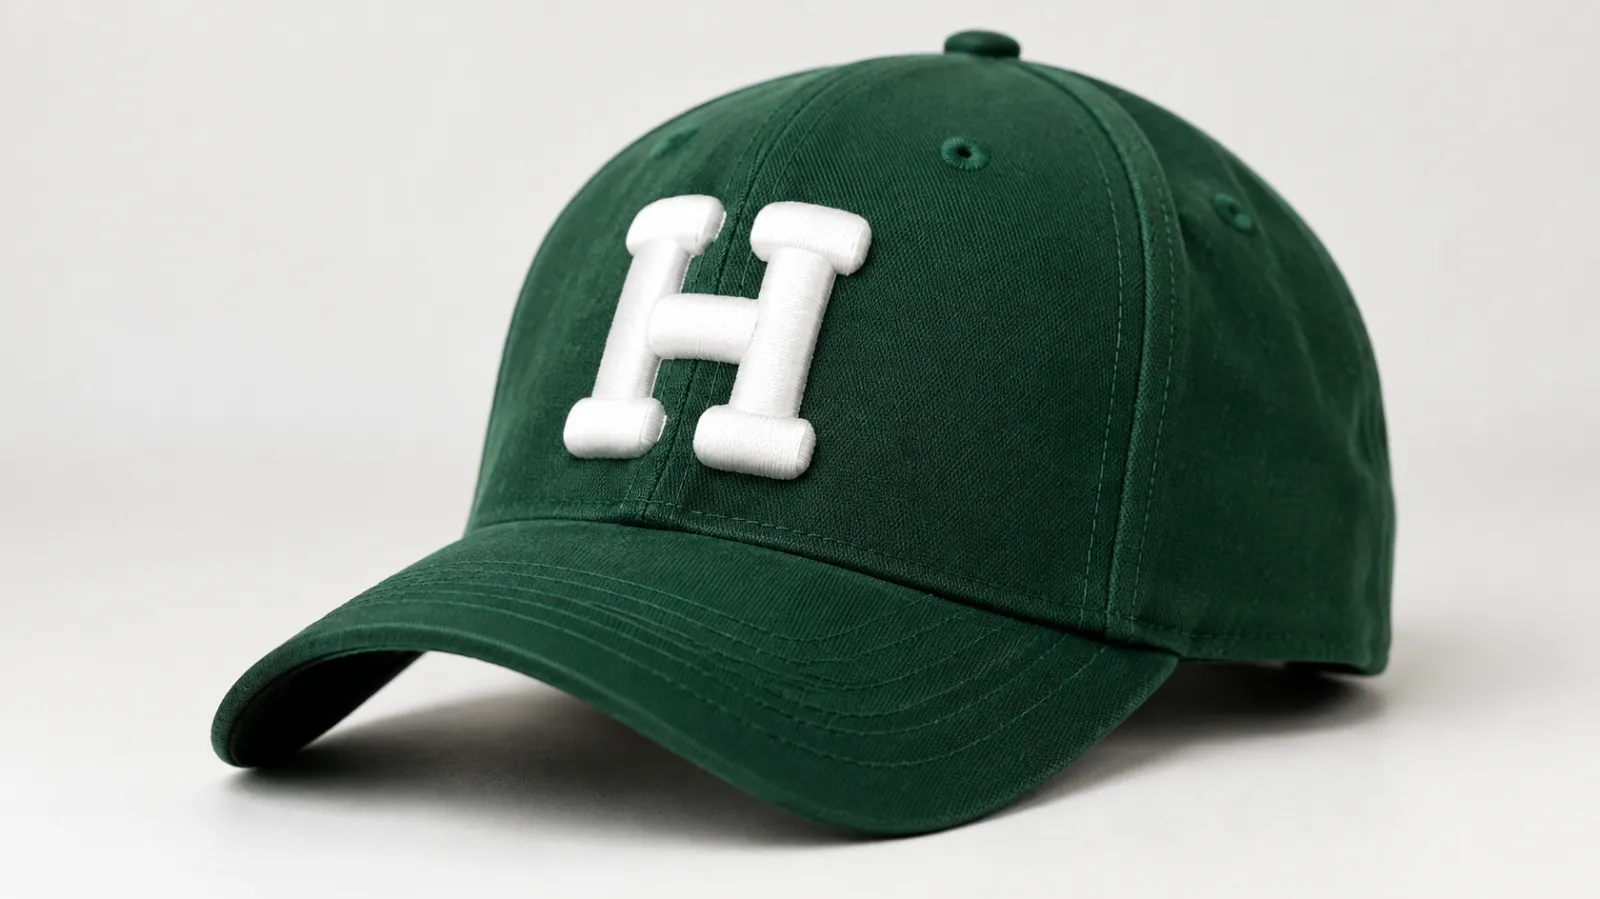
Structured caps hold their shape and give puff a firm base. Unstructured caps are softer and need good stabilizing, so the foam does not pull the panel out of shape. Our cap and hat digitizing guide covers both in more detail.
What to send for a 3D puff digitizing order
- Your logo or design, plus the width and height you want.
- Which parts should be puff and which should stay flat.
- The garment (structured cap, unstructured cap, hoodie and so on).
- Your foam thickness if you already have it, and your machine file format.
Need a puff-ready file? Our embroidery digitizing service covers 3D puff for caps and jackets. Send your artwork through the quote form, mention that it is for puff, and we will confirm the price for your size. Free edits and revisions are included if the test sew shows anything that needs adjusting.
Frequently asked questions
What is 3D puff embroidery?
It is embroidery sewn over a layer of foam, so the design stands up from the fabric. Satin stitches cut the foam at the edges, the excess is torn away, and the stitched areas stay raised.
What is 3D puff digitizing?
It is preparing an embroidery file specifically for puff, using satin columns, higher density and end caps so the stitches cut and cover the foam cleanly.
Can any embroidery design be made 3D puff?
Not directly. Puff works best with bold shapes and lettering built from satin columns. Fine detail, small text and fill areas are usually sewn flat, and the design needs a file digitized specifically for puff.
What foam thickness is used for puff embroidery?
Foam of roughly 2 mm to 3 mm is common, and 3 mm is widely treated as the standard. Very thick foam can cause needle deflection.
Can small text be puff?
Usually not. Fine detail and small text do not cover the foam cleanly, so they are normally sewn flat next to the puff elements.
Why does foam show through some puff designs?
Most often a flat file was sewn over foam, or the satin density or column width was not right for puff. A file digitized for puff, with higher density and end caps, covers the foam fully.
By Abdul Rafay · Digitize’NStitch ·