Caps are where a lot of embroidery files fall apart. A logo that sews cleanly on a polo can pucker, drift out of register or lose its small text on a hat, and the cause is almost always the digitizing, not the machine.
The short version: sew from the center out and from the bottom up, use enough underlay to lock the front panel, keep small text bigger and simpler than you would on a shirt, and tell your digitizer the cap type and your frame before you order.
What is hat digitizing?
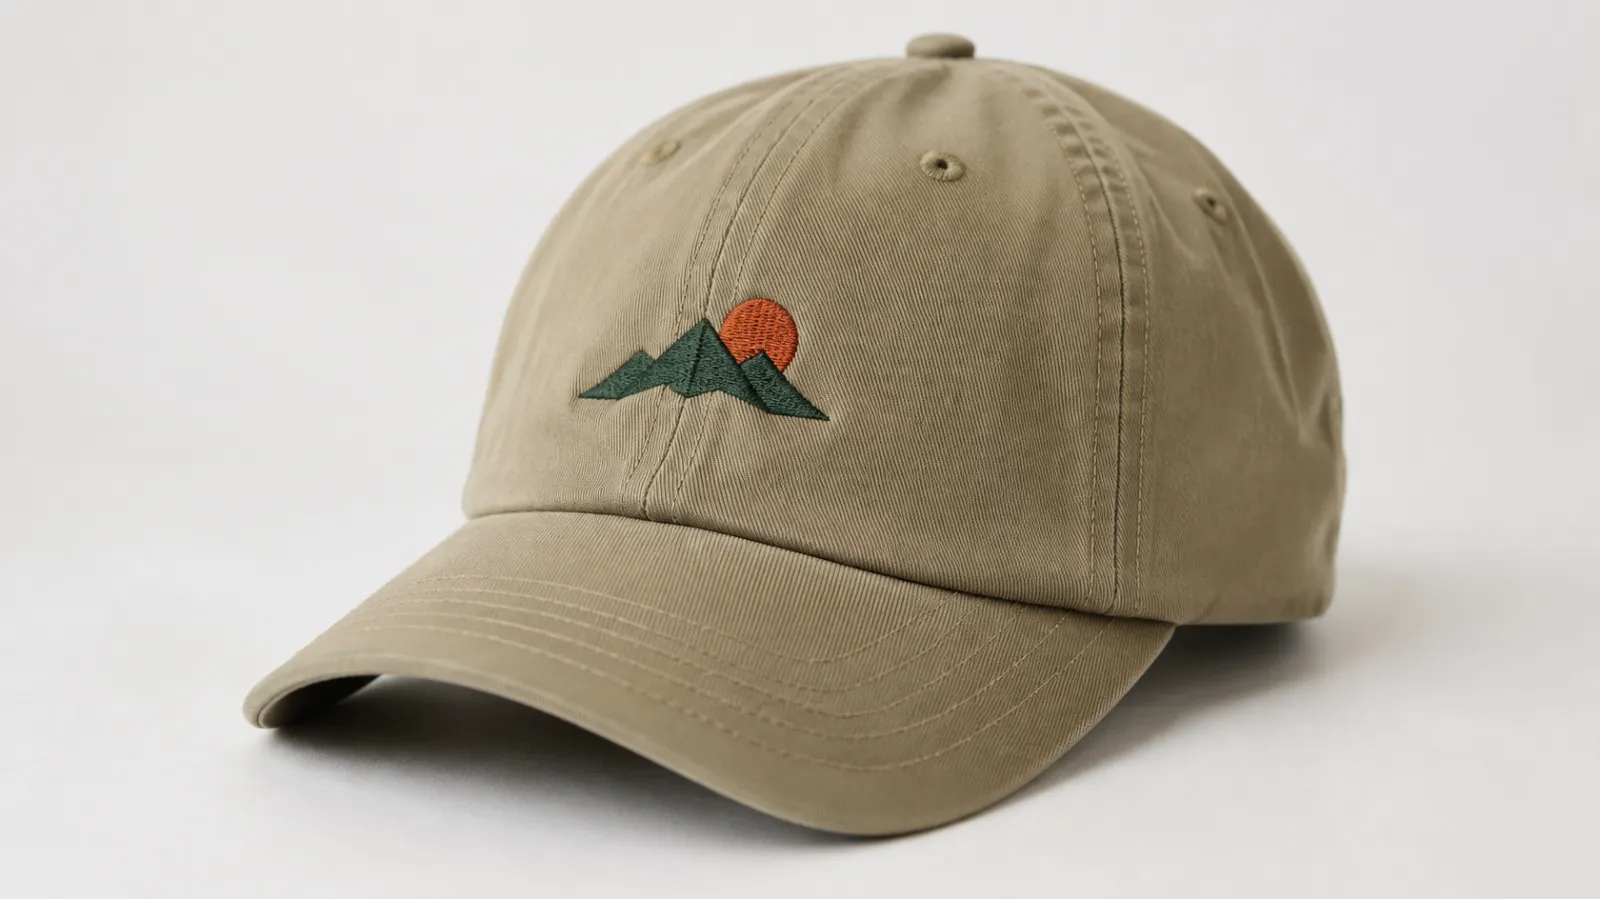
Hat digitizing is the process of turning a logo into an embroidery file made specifically for a cap. The digitizer chooses the stitch types, direction, density, underlay and sewing order for a curved, stiff surface, then saves the result in your machine format, such as DST or PES.
Why a cap needs its own embroidery file
On a flat garment the fabric is hooped tight and stays put. A cap is curved, stiff at the front and held in a cap frame, so it behaves differently. Every stitch pushes the fabric a little in the direction it is laid, and on a curved panel that push adds up fast.
A cap-ready file plans for that movement instead of fighting it. That is why a file made for a flat shirt so often needs rework before it sews well on a hat.
Sew from the center out, and from the bottom up
The most important rule in cap digitizing is the sewing sequence. Start near the middle of the design, work outward to each side, and generally go from the bottom of the cap toward the top. That pushes extra fabric to the sides and upward, where it has room to go, instead of trapping it in the middle where it causes bunching and gaps.
- Lettering usually starts from the center of the word and sews outward to each side.
- Each letter or element is finished (fill, then its outline) before moving on, so outlines line up with their fills.
- Large elements are split so the center is stitched first and the sides follow.
Underlay that locks the cap down
Underlay is the foundation layer that sews before the visible design. On caps it does extra work: it fixes the front panel to the backing so nothing shifts when the top stitches go down. A good cap file uses enough underlay to stabilize the panel without making the design stiff.
Working around the center seam
Most six-panel caps have a seam running down the middle of the front. Thin stitches can sink into it and disappear, and a design that starts exactly on the seam can distort. Experienced digitizers reinforce the underlay across the seam, or arrange the design so important detail does not land right on it.
Structured vs. unstructured caps
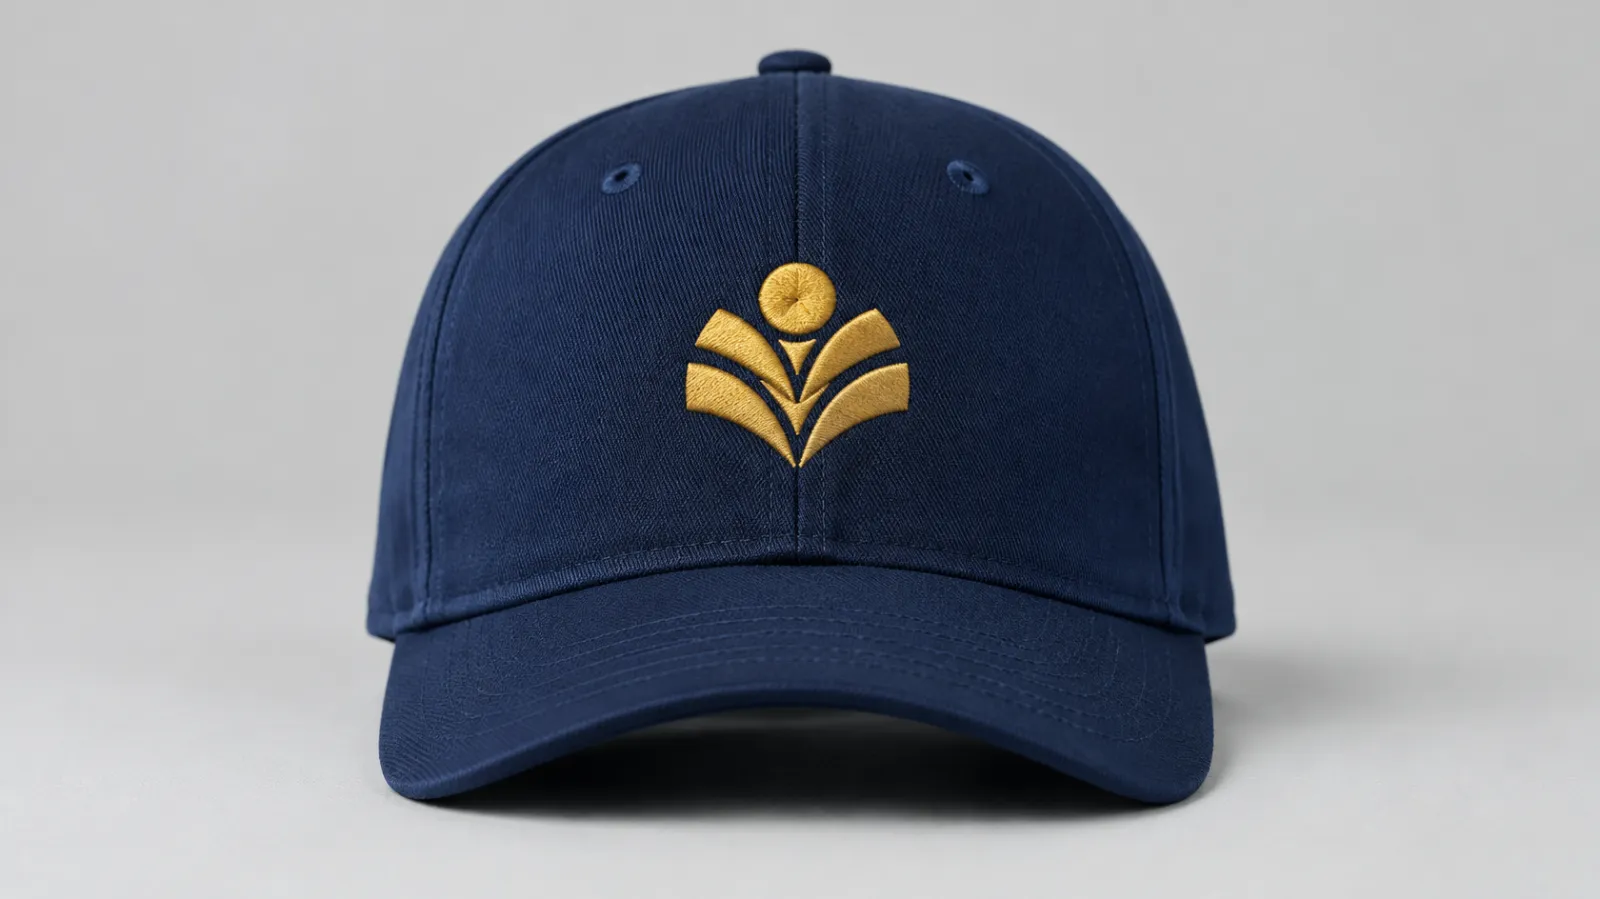
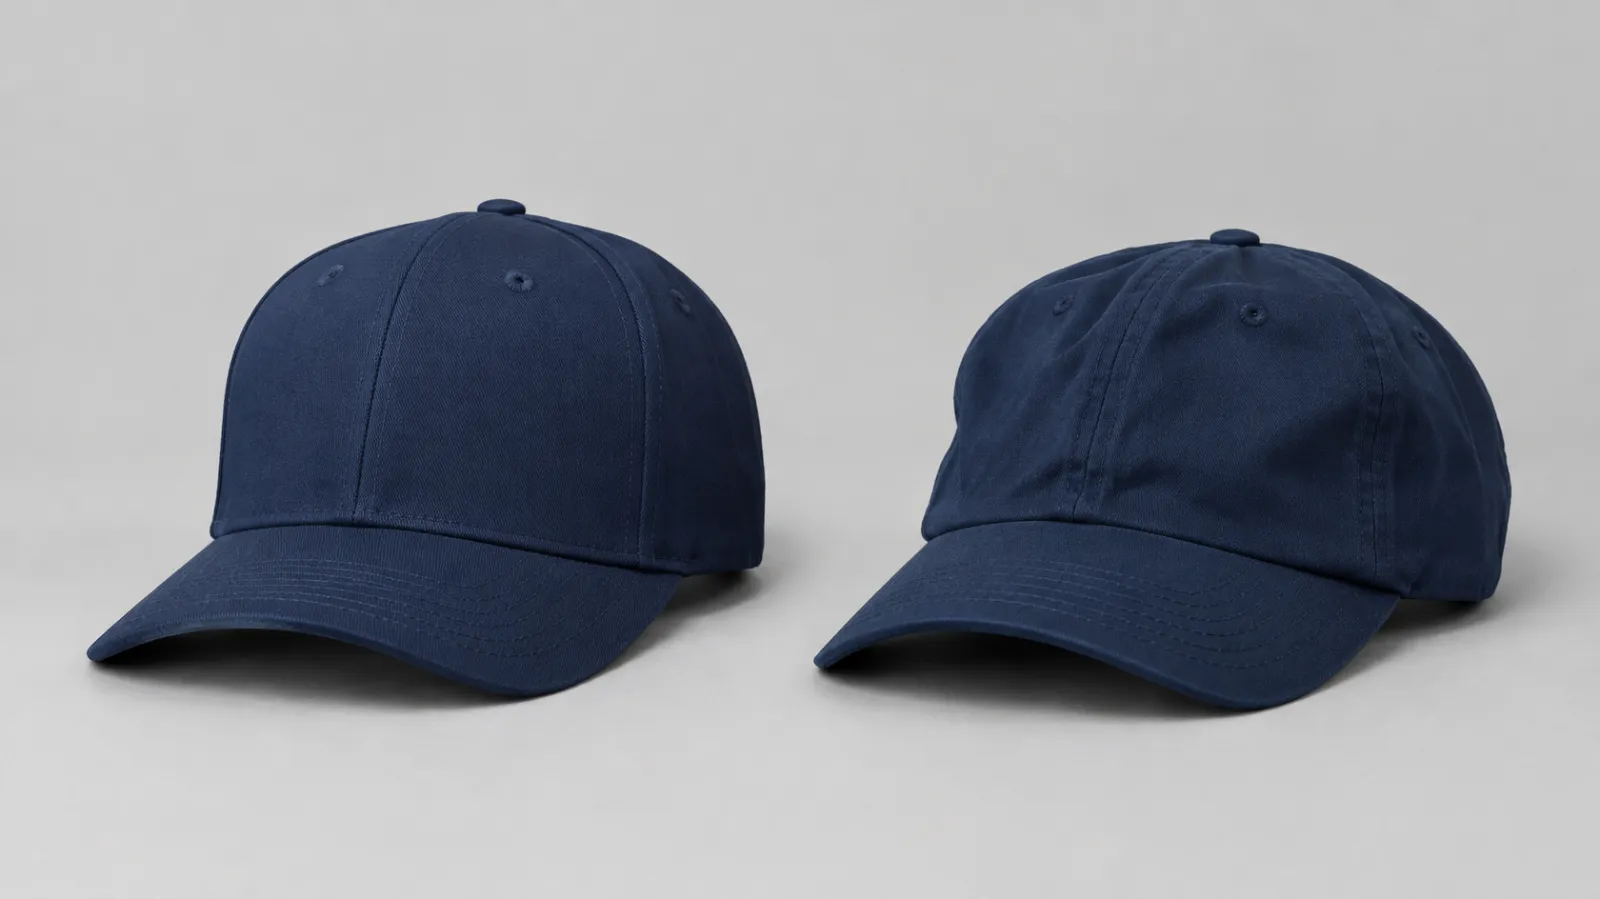
Structured caps have a stiff buckram lining behind the front panels. That gives a firm surface, which is usually easier to embroider. Unstructured caps (often called dad hats) are soft and move more, so they need more careful stabilizing. Tell your digitizer which type you are using, because density and underlay are adjusted for it.
Trucker caps, 5-panel caps and other styles
Trucker caps have a foam front panel and a mesh back. The foam is soft, so stitches can sink into it if the density is too low or too high, and the design usually needs a clean, bold shape. Five-panel and six-panel caps differ in where the seams fall, so tell your digitizer the style as well as the structure.
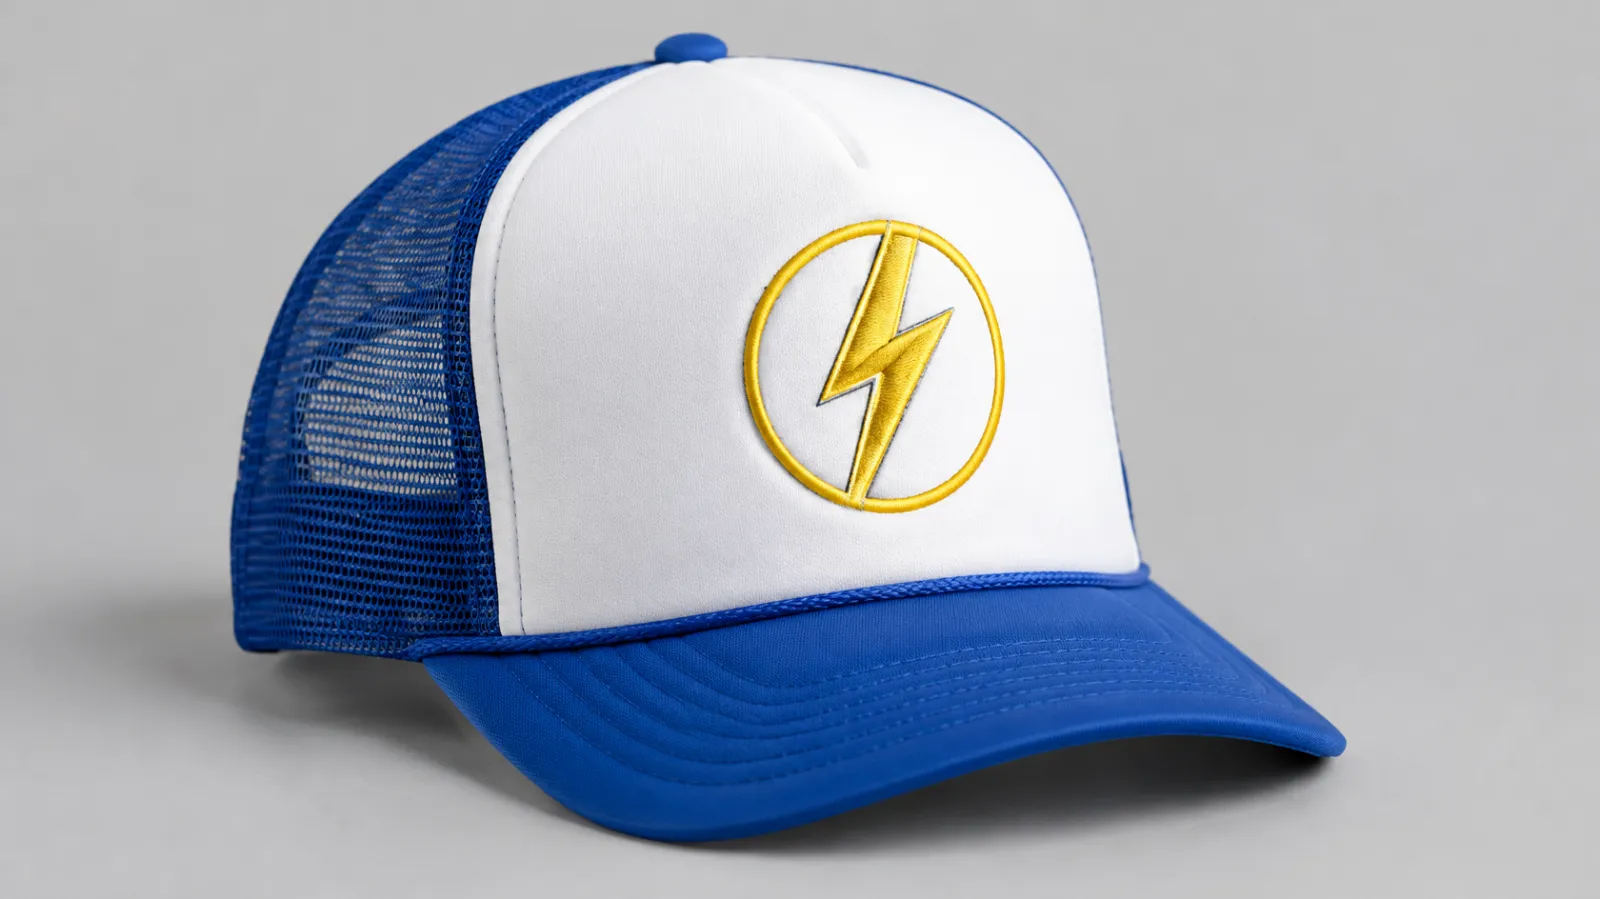
Flat embroidery or 3D puff on a cap?
Most cap logos are sewn flat. Bold lettering and simple shapes can also be raised with foam, which is called 3D puff and needs its own file. Our 3D puff embroidery digitizing guide explains when puff makes sense and how it is set up.
Size and small text
The usable height of a cap design depends on the cap profile (low, mid or high) and on your cap frame, so there is no single maximum that suits every hat. Measure the front panel of the actual blank and check your frame limits before you order the file.
As a starting point, these are the sizes many decorators and cap suppliers work with. They are typical ranges, not limits for every hat.
| Cap position | Typical max width | Typical max height | Notes |
|---|---|---|---|
| Structured cap, front | About 4–5 in (102–127 mm) | About 2–2.25 in (51–57 mm) | Firm front panel; the most common cap logo area |
| Trucker cap, front | About 4–5 in (102–127 mm) | About 2 in (51 mm) | Soft foam front; keep the design bold and simple |
| Unstructured cap (dad hat), front | Usually smaller than a structured front | Usually lower | Soft, low crown; measure your blank |
| Side panel | Up to about 2.25 in (57 mm) | About 1–2 in (25–51 mm) | Keep it above the bottom of the front design so it clears the frame |
| Back, above the opening | About 3.5 in (89 mm) | About 1 in (25 mm) | Short text or a small mark works best |
Keep lettering at least about 0.25 in (6 mm) tall on any part of a cap. If you are also putting the logo on shirts, our left chest logo size chart covers adult, kids and hoodie sizes.
Small lettering needs extra care. A curved, stiff surface closes up fine detail, so text that reads well on a shirt can fill in on a cap. Keep letters a little larger and simpler than you would on flat fabric.
Many shops use sharp 75/11 needles on caps to reduce deflection on buckram and seams.
Common cap embroidery mistakes
- Sewing a flat-garment file on a cap without changing anything.
- Starting the design right on the center seam, or letting thin lines fall on it.
- Making small lettering too small or too detailed.
- Not telling the digitizer the cap type or the frame you will use.
- Skipping a test sew-out on the actual cap before a full run.
What to send for a cap logo digitizing order
- Your logo in the clearest version you have (vector, PDF or a high-resolution image).
- The exact width and height you want on the cap.
- Cap type: structured or unstructured, and the profile if you know it.
- Your machine file format, such as DST or PES (see our embroidery file formats guide).
- Thread colors, if they need to match a brand.
With those details a digitizer can plan the sequence, underlay and density for the cap you are really sewing, instead of converting a flat-garment file and hoping for the best.
Frequently asked questions
Can I use the same embroidery file for a shirt and a cap?
Sometimes, but it is not recommended. Cap files are sequenced center-out and bottom-up and use underlay that stabilizes a curved panel. A file planned for a flat shirt often puckers or shifts on a cap.
What is the best sewing sequence for cap embroidery?
Start near the center of the design and sew outward to the sides, generally from the bottom up. This pushes extra fabric toward the sides instead of trapping it in the middle.
How big can a cap embroidery design be?
It depends on the cap profile and your cap frame, so check the front panel of your blank and your frame limits. Keep small lettering larger and simpler than on flat garments.
Do structured and unstructured caps need different embroidery files?
They are usually digitized a little differently. Structured caps have a firm lining that gives a stable surface. Unstructured caps are soft and move more, so density, underlay and stabilizing matter more. Tell your digitizer which type you are using.
What is hat digitizing?
It is converting a logo into an embroidery file made for a cap, with the sewing order, underlay and density planned for a curved, stiff front panel. The file is saved in your machine format, such as DST or PES.
Which file format do I need for cap embroidery?
It depends on your machine. DST is widely used on commercial machines and PES on Brother machines, but check your machine manual. Our embroidery file formats guide explains the common types.
By Abdul Rafay · Digitize’NStitch ·