To make a DST file, you open your artwork in embroidery digitizing software, build the stitches for each shape, set the size, and then export the design as DST. You cannot simply rename or convert a JPG or PNG, because a DST file holds stitch instructions, not a picture.
That is the part that surprises most people. If you have tried an online converter and got a messy or empty result, this guide explains why, and shows the steps a digitizer follows to make a DST file that actually sews.
The short version: artwork goes into digitizing software, stitches are built by hand or by auto-trace, the design is resized and checked, and then you export as DST. Simple shapes can be auto-traced. Logos with text, small details or caps usually need a person.
What is a DST file, in one minute?
A DST file is a stitch file in the Tajima format. It lists where the needle should go, when to trim, and when to stop for a color change. It does not contain a picture of the logo or a list of thread brands. Our guide to what a DST file is covers the format in more detail.
Because it is only a list of needle moves, a DST file is made, not converted. Someone, or some software, has to decide how every area of the design will be stitched.
How do you make a DST file, step by step?
- Start with the best artwork you have. A clean vector logo or a large, sharp PNG is far easier to work from than a small, blurry JPG.
- Open it in embroidery digitizing software. Wilcom, Hatch, Pulse and Embrilliance are common names, and some free or low-cost programs can do basic work.
- Set the real size first. Decide the finished width and height, for example a left chest logo or a cap front, before you build any stitches.
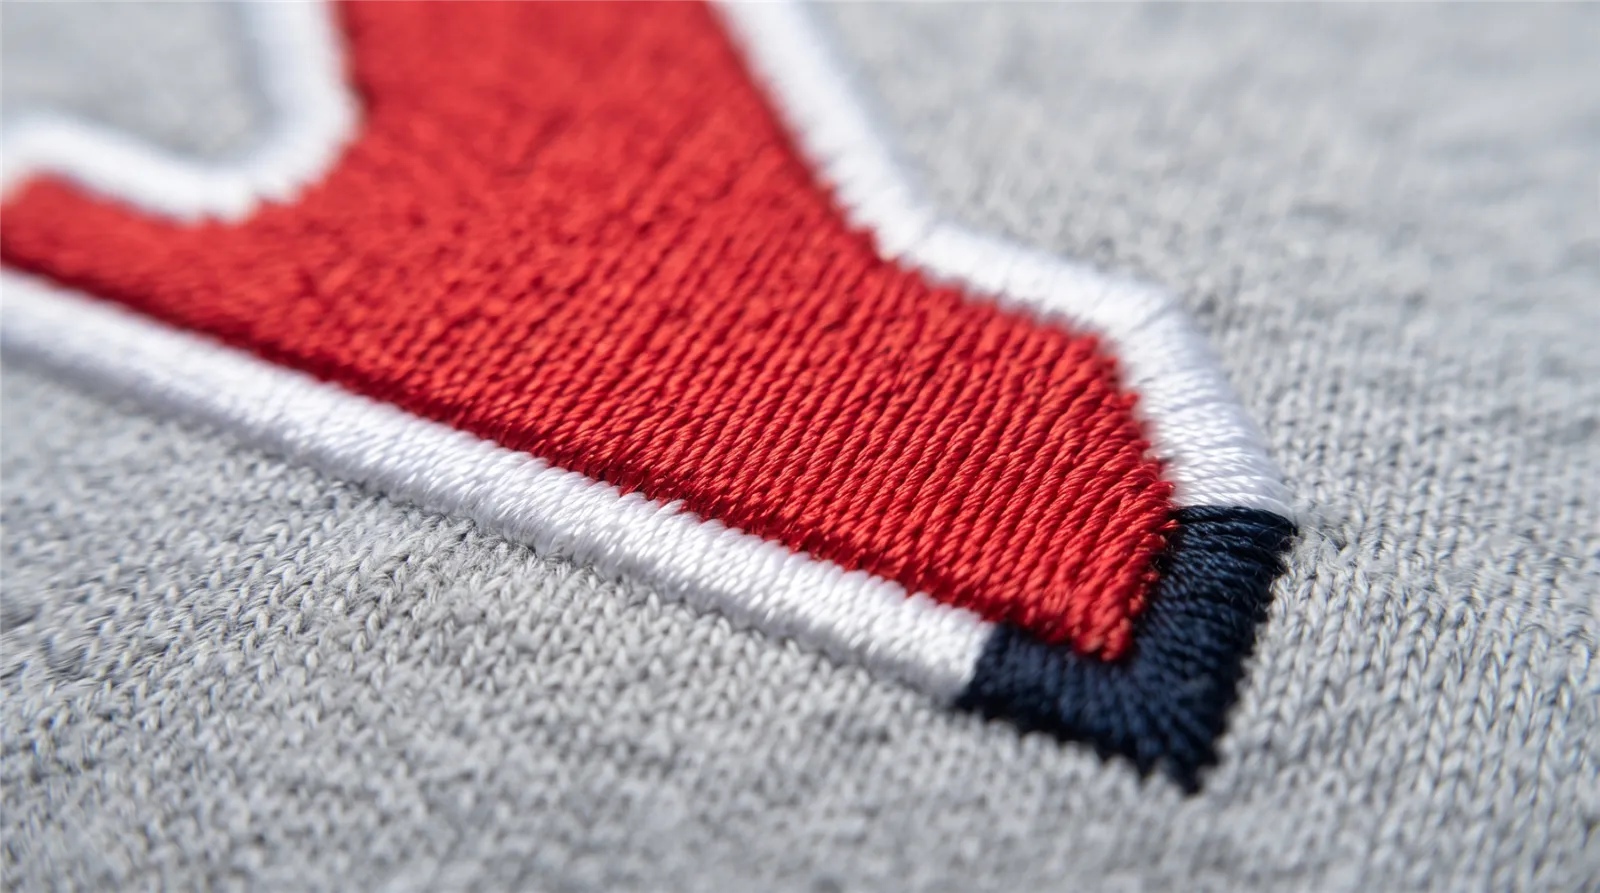
- Build the stitches. Solid areas are usually filled, narrow shapes and borders are usually satin, and thin lines are run stitches. You also set the stitch order and where the needle travels between parts.
- Add underlay and pull compensation. These are hidden support stitches and small adjustments that help shapes keep their form on the fabric.
- Preview the design in the software and check the stitch order, trims and color stops.
- Export or save as DST. In most programs this is a Save As or Export option that lists DST among the machine formats.
- Test sew on a fabric like the final garment, then fix anything that puckers, gaps or looks too dense.
Can you make a DST file for free?
Partly. Free and low-cost programs exist, and some can export DST. The catch is time. Learning how density, underlay and stitch direction behave takes practice, and a first attempt often sews badly even when the file opens without errors.
Auto-digitizing tools, including the auto-trace buttons inside paid software, work best on bold, simple shapes with few colors. They struggle with small text, fine lines, gradients and photos. Treat their output as a rough draft that still needs checking.
Why do JPG to DST converters fail?
A JPG is a grid of colored pixels. A DST file is a path for a needle. Turning one into the other means deciding stitch types, directions, density and order, and an automatic converter makes those choices without understanding how fabric behaves.
The usual results are too many tiny stitches, jagged edges, thin text that fills in, and a design that jumps around the hoop. That is not always the converter being broken. It is just guessing.
Common mistakes when making a DST file
- Resizing the design a lot after export. Stitch counts and density do not rescale cleanly, so size the design before you finish it, or re-digitize for a very different size.
- Using a low-quality image. If the artwork is blurry, the edges you trace will be too.
- Skipping the test sew. A design can look perfect on screen and still pucker on a stretchy knit or sit badly on a cap.
- Expecting colors to carry over. DST has no thread colors, only color change stops, so send a color note or a reference image with the file.
- Making tiny text. Very small letters often fill in, so lettering usually needs a sensible minimum height.
When is it better to have a DST file digitized for you?
If you only need one or two logos and have no embroidery software, paying for digitizing is usually quicker than learning the craft. It also helps when the design is for caps, puff, small left chest sizes or fabrics that stretch, since those jobs reward experience.
We digitize logos and artwork into DST and other formats. Embroidery digitizing under 5 inches is $4.99 to $9.99, 5 to 7 inches is $9.99 to $14.99, and anything bigger is on quote. Turnaround is 12 to 24 hours up to 7 inches, free edits included. Send your artwork through the quote form and tell us the garment and size.
Frequently asked questions
Can I convert a JPG or PNG to a DST file?
Not in a way that sews well. A DST file is a set of stitch instructions, so the artwork has to be digitized rather than just converted.
What software can export a DST file?
Most embroidery digitizing programs can, including Wilcom, Hatch and Pulse. Look for DST in the Save As or Export list of machine formats.
Does a DST file include thread colors?
No. It only holds color change stops, so you set the thread colors at the machine or follow a color sheet.
Can I make a DST file for free?
Some free or low-cost programs can export DST, but the result depends on your skill with stitch types and density. Simple, bold shapes work best.
How much does it cost to have a DST file made?
Our digitizing starts at $4.99 for designs under 5 inches and is $9.99 to $14.99 for 5 to 7 inches. Larger designs are quoted individually.
By Abdul Rafay · Digitize’NStitch ·